Lista di Imballaggio
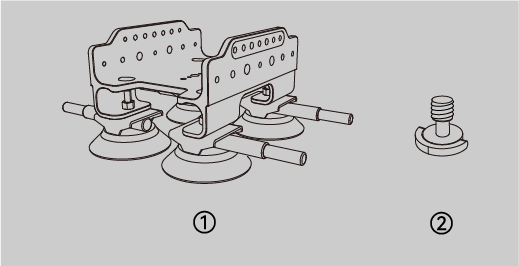
①Rooftop Mount ②Vite di Montaggio ad Anello D
Connessione Hardware
1.Fix the Scanner to the Rooftop Mount
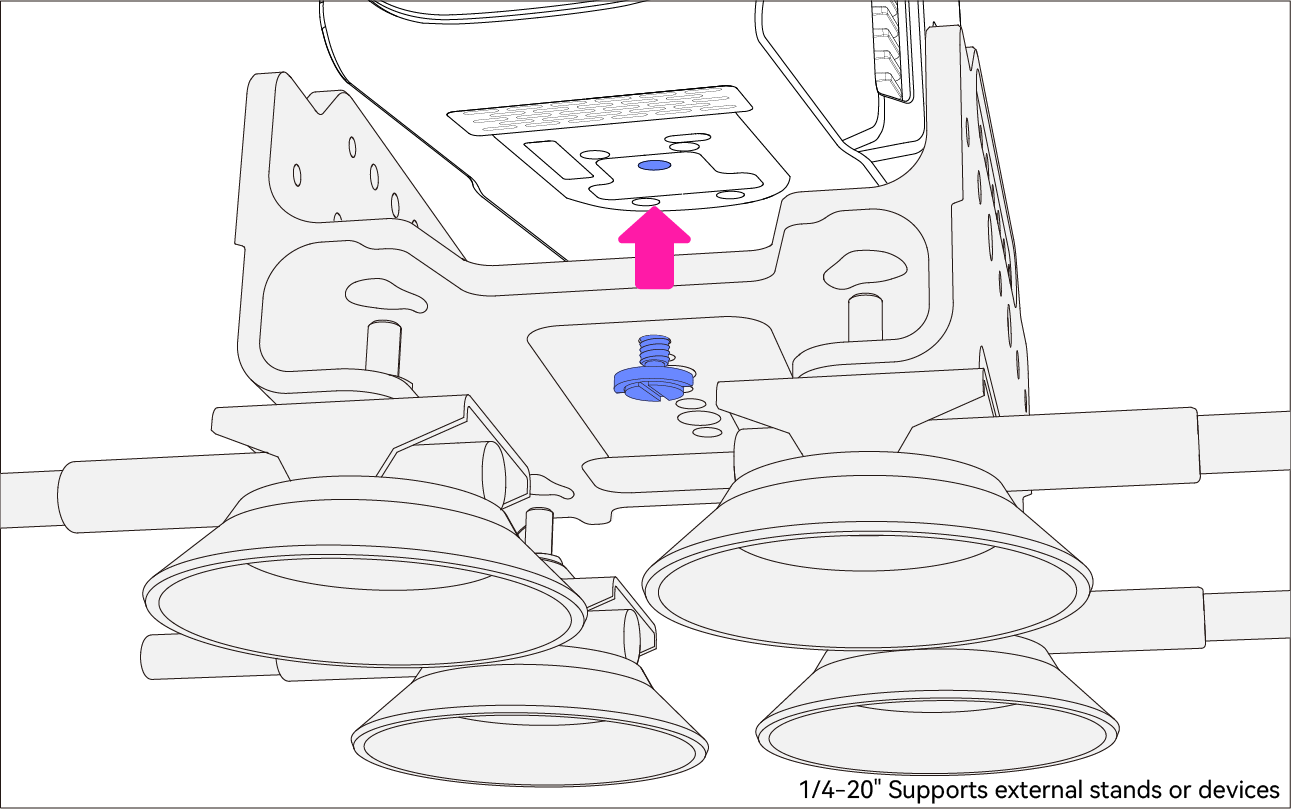
Per prima cosa, prefissa la vite ad anello a D al supporto da tetto, regola la posizione dello scanner, quindi allinea il foro della vite sul fondo dello scanner con la vite. Una volta fatto, puoi stringere la vite.
*There are multiple screw holes on the rooftop mount. The scanner can be fixed onto it through different screw holes as you wish, but please be careful not to block the air outlet at the bottom of the scanner during installation!
2.Fix the Rooftop Mount to the Vehicle
a. Trova un punto piatto sul tetto e attacca le ventose. Assicurati che aderiscano bene.
*It's required to clean the bottom of the suction cup and the rooftop before fixing them. Dust or foreign objects may affect the holding force of the suction cup!
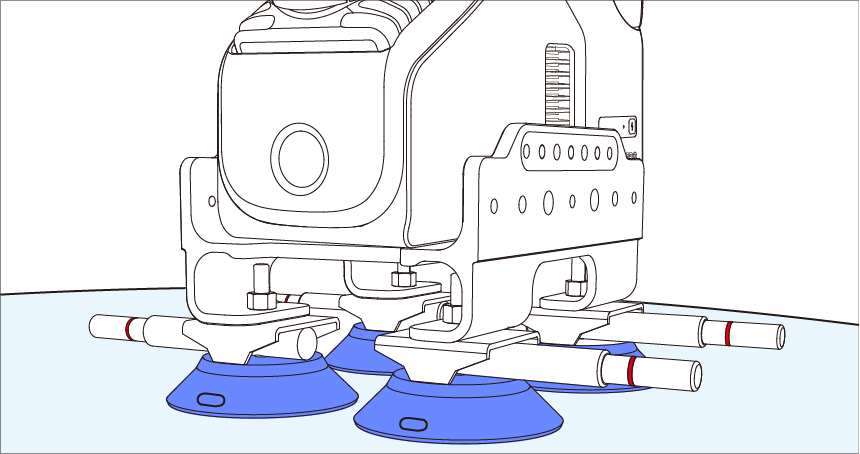
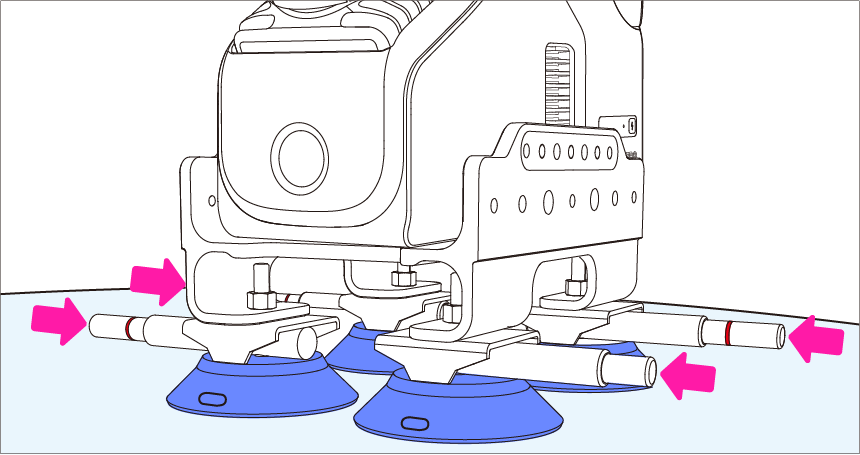
b. Scarica l'aria dal fondo delle quattro ventose. Premi la valvola dell'aria (indicata dalle frecce rosse) più volte fino a quando la linea rossa non è più visibile.
3.Detach the Equippment
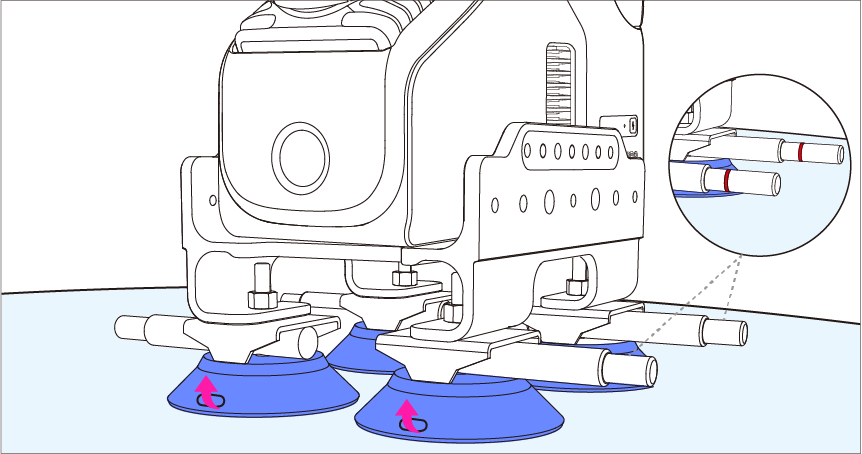
Tira delicatamente verso l'alto la sporgenza sulla parte anteriore della ventosa fino a quando la valvola dell'aria fuoriesce.
*The above picture only shows part of the protrusions. Another two protrusions on the back side need to be pulled successively.