PACKING LIST
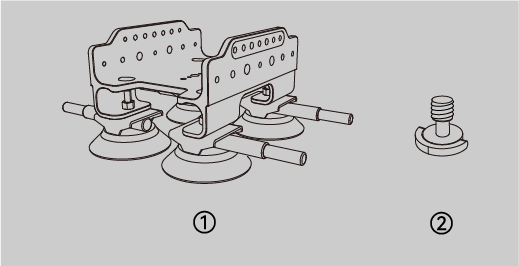
①Rooftop Mount ②D-Ring Mounting Screw
HARDWARE CONNECTION
1.Fix the Scanner to the Rooftop Mount
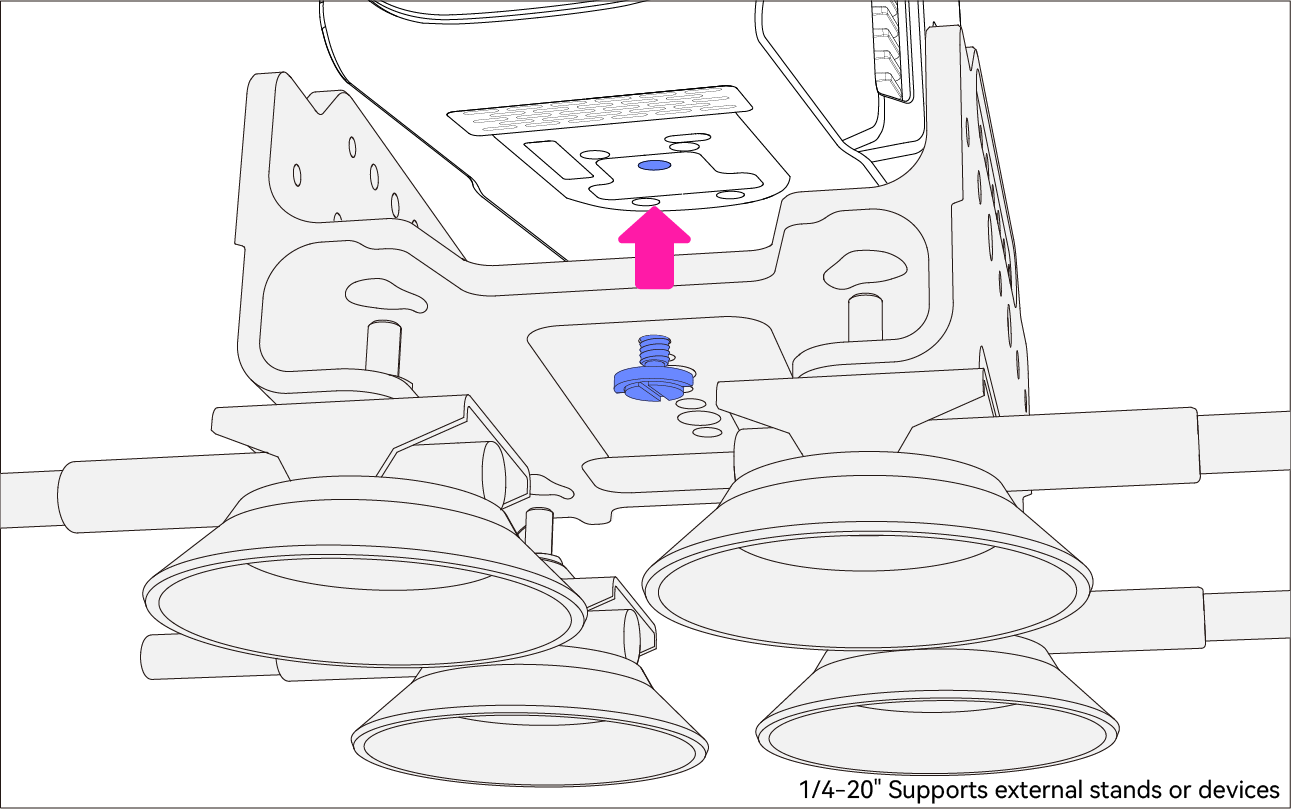
Firstly, pre-fix the D-Ring screw to the rooftop mount, adjust the scanner's position, then align the screw hole at the bottom of the scanner with the screw. Once it's done, you can tighten the screw.
*There are multiple screw holes on the rooftop mount. The scanner can be fixed onto it through different screw holes as you wish, but please be careful not to block the air outlet at the bottom of the scanner during installation!
2.Fix the Rooftop Mount to the Vehicle
a. Find a flat place of the roof, and attach the suction cup at the bottom of the rooftop mount to the roof. Please make sure each suction cup is tightly attached to the roof.
*It's required to clean the bottom of the suction cup and the rooftop before fixing them. Dust or foreign objects may affect the holding force of the suction cup!
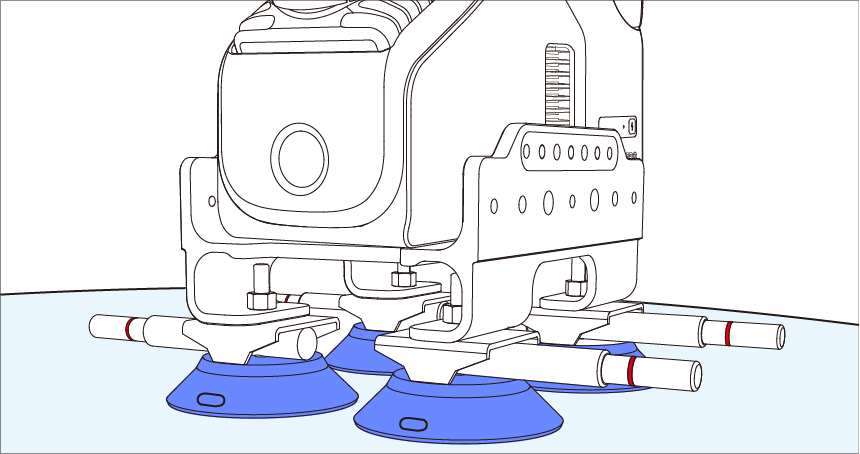
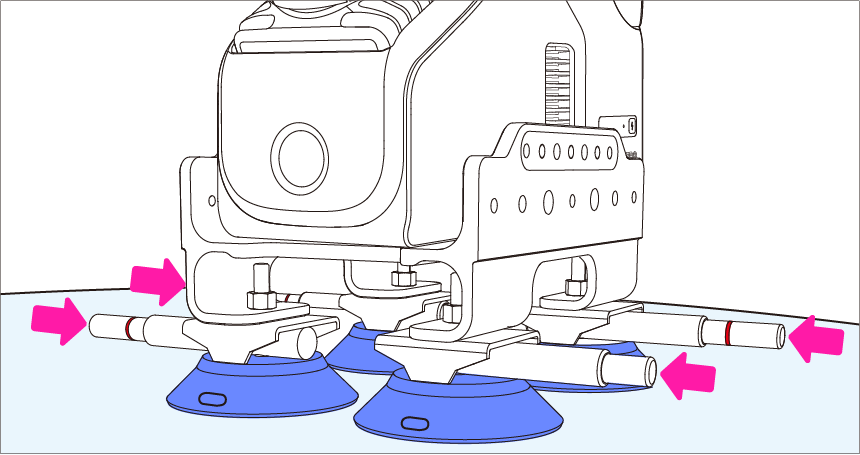
b. Drain the air from the bottom of the four suction cups. Press the air valve (marked by the red arrows) several times until the red line is invisible.
3.Detach the Equippment
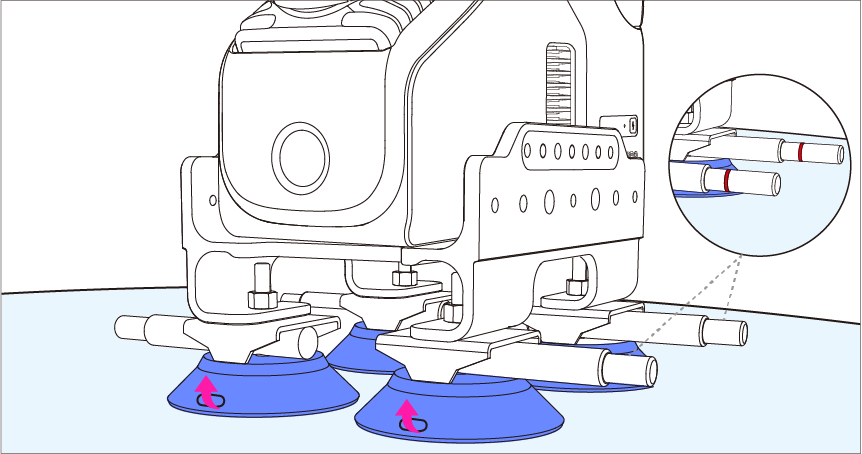
Gently pull the protrusion on the front of the suction cup upwards until the air valve pops out.
*The above picture only shows part of the protrusions. Another two protrusions on the back side need to be pulled successively.